1.首先贴上主要的命令:brew install elasticsearch //安装elasticsearchbrew install logstash //安装logstashbrew services start elasticsearch //启动elasticsearchbrew services stop elasticsearch //停止elasticsearchlogstash -f xxx.conf //logstash按xxx.conf配置文件启动
xxx.conf配置实例如下:
1
2
3
4
5
6
7
8
9
10
11
12
13
14
tcp {
port => 4560
codec => json
}
}
output {
elasticsearch {
hosts => "localhost:9200"
user => elastic
password => changeme
index => "springboot"
}
}
2.验证安装
浏览器访问http://localhost:9200 查看elasticsearch安装信息
浏览器访问http://localhost:9600 查看logstash安装信息
3.kibana安装启动
Kibana不需要通过brew安装,直接下载压缩包后,解压后执行./kibana即可启动。不过我还是在/usr/local/bin/下创建了kibana和kibana-plugin的软连接, elasticsearch,elasticsearch-plugin,logstash和logstash-plugin都在这个目录下,以后安装插件的话,还都需要用上这些*-plugin.
4.springboot中logback配置
pom.xml配置如下依赖:1
2
3
4
5
6<!--logstash for logback-->
<dependency>
<groupId>net.logstash.logback</groupId>
<artifactId>logstash-logback-encoder</artifactId>
<version>4.9</version>
</dependency>
紧接着配置logback.xml,增加appender如下,同时把该appender加入1
2
3
4
5<!--输出到远程logstash-->
<appender name="logstash" class="net.logstash.logback.appender.LogstashTcpSocketAppender">
<destination>127.0.0.1:4560</destination>
<encoder charset="UTF-8" class="net.logstash.logback.encoder.LogstashEncoder" />
</appender>
5.安装x-pack
为了elk环境的安全和更多功能,需要安装x-pack.elasticsearch-plugin install x-packkibana-plugin install x-packkibana-plugin install file:///Users/Neptune/x-pack-5.5.0.zip //离线安装kibana xpack
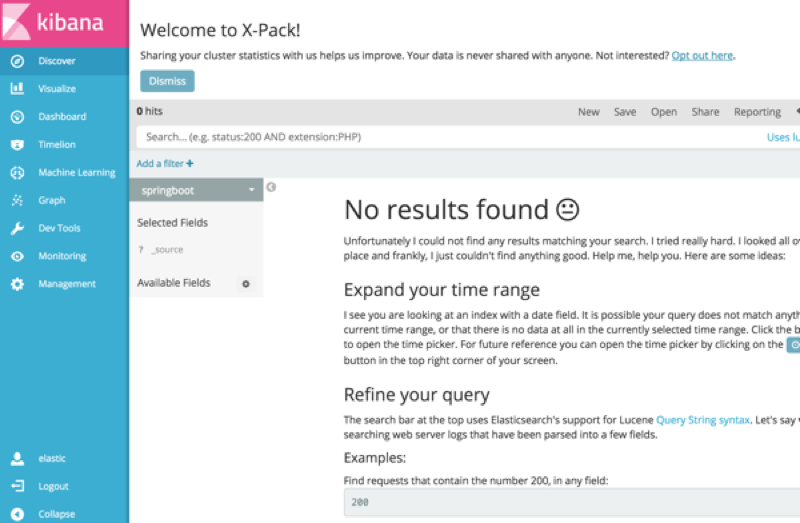
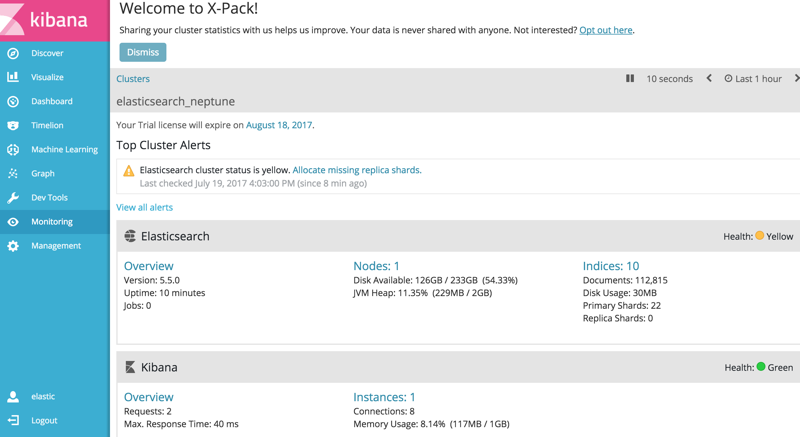
6.进入kibana界面查看
访问地址 http://localhost:5601/
初始用户名和密码:elastic/changeme

参考链接:
http://blog.csdn.net/ywheel1989/article/details/60519151
https://www.elastic.co/guide/en/kibana/5.5/installing-xpack-kb.html